Figma is a powerful and flexible tool used by designers around the world for user interface design, prototyping, and collaboration. However, there are moments when designers want to apply effects like skewing shapes or text to create a more dynamic visual. Unlike traditional graphic design tools such as Adobe Illustrator or Photoshop, Figma doesn’t have a built-in Skew or Shear tool. But this doesn’t mean skewing in Figma is impossible. With a bit of creativity and the right techniques, you can mimic a skew effect effectively. This topic will guide you through how to skew in Figma using several practical methods and design tips that maintain consistency and flexibility in your workflow.
Understanding the Concept of Skew in Design
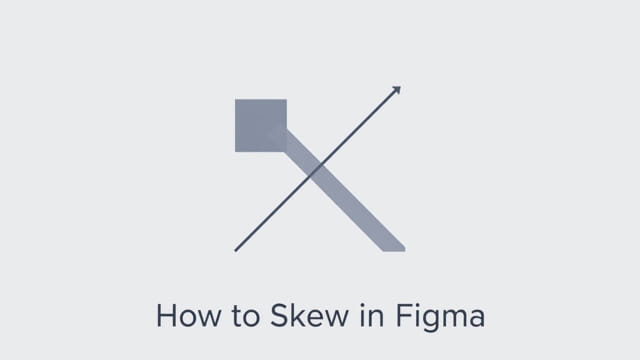
What Is Skewing?
Skewing is a transformation that distorts an object along its X or Y axis, giving it a slanted appearance. This effect is often used in visual design to add energy, depth, or a stylized look to text, shapes, or images. Unlike rotation, which moves the entire object around a central point, skewing stretches the object in one direction while keeping the opposite sides fixed.
Why Use Skew in Figma Designs?
Skewing can be used to:
- Add a sense of motion or tension to a layout.
- Create modern or retro-style visuals.
- Give static objects a more dynamic appearance.
- Emphasize elements like headings, buttons, or banners.
Although Figma doesn’t include a native skew function, there are multiple ways to replicate this effect using Figma’s available tools and plugins.
Method 1: Skew Effect Using the Flatten and Transform Technique
Step-by-Step Instructions
One of the most effective ways to create a skew effect in Figma is by flattening your object and then manually adjusting its points.
- Start by drawing a shape or typing a text element in Figma.
- Select the element and clickObject > Flatten(or pressCtrl+E/Cmd+E).
- Once flattened, the object becomes a vector shape.
- Use theNode tool(double-click on the shape) to enter vector edit mode.
- Select the top anchor points and drag them horizontally to one side.
- Adjust the bottom anchor points in the opposite direction if needed to achieve the desired skew.
This approach gives you complete control over the skew angle and appearance. However, once an object is flattened and edited, it’s no longer editable as text or a basic shape. You may want to duplicate the original before flattening for future changes.
Method 2: Using the SkewDat Plugin
How to Use SkewDat
There are several community plugins available for Figma that help simulate skew transformations. One of the most popular is SkewDat.
- Go to the Figma Plugin menu and search forSkewDat.
- Install the plugin and run it while a shape or frame is selected.
- Choose the skew direction (X or Y axis) and enter the skew angle in degrees.
- Apply the transformation, and your shape will take on a skewed look.
The advantage of this method is precision and speed. However, the skewed object is often converted to a vector shape, which again makes it non-editable as original text or live shapes.
Method 3: Creating a Skew Look with Frames and Rotation
Simulating Skew Without Vector Editing
Another workaround involves rotating elements within a frame to mimic a skew effect without actually distorting the shape. Here’s how:
- Create a frame and place your object (text or shape) inside it.
- Rotate the entire frame slightly, for example, by 10 degrees.
- Then, rotate the object inside the frame in the opposite direction, such as -10 degrees.
This creates an illusion of skewing because the object remains upright while the frame is angled. It’s particularly useful for layouts where you want to maintain text readability but still achieve a dynamic layout look.
Tips for Better Skew Effects in Figma
Maintain Consistency Across Elements
When using skew effects across your design, maintain consistent angles to avoid visual dissonance. For instance, if you’re skewing headings by 15 degrees, use the same skew angle for other similar elements to create harmony.
Use Shadows and Colors to Enhance the Effect
Adding drop shadows or gradient fills can enhance the skewed look and make the object stand out more. Shadows that align with the skew angle reinforce the direction of motion and increase depth.
Test Responsiveness and Readability
Especially when skewing text, always test how readable it remains. If it becomes difficult to read, consider reducing the skew angle or only applying the effect to decorative elements instead of body content.
Use Cases for Skewing in Figma
Promotional Banners and Ads
Skewing can be especially effective in digital banners, posters, or call-to-action elements. It helps grab attention and create a break from standard, flat layouts.
Modern Web and App UI
Many modern web and app designs use subtle skews in hero images or section dividers. By skewing shapes in the background, you can introduce depth and energy to a page without interfering with the primary content.
Branding and Typography
Skewed text is a common stylistic choice in branding assets, particularly for logos, headers, and taglines. It gives a brand a bold, futuristic, or unconventional tone, depending on how it’s applied.
Limitations and Considerations
No Native Skew Tool
Since Figma doesn’t offer a built-in skew feature, all methods rely on workarounds or plugins. This means some loss of editability or flexibility compared to traditional graphic software. Always keep an unmodified version of your elements for later changes.
Effects May Vary with Scaling
When scaling skewed objects, especially those that have been converted to vectors, distortions may become more pronounced. Be cautious when resizing skewed elements and always test across various screen sizes.
Even though Figma doesn’t include a native skew tool, you can still achieve high-quality skew effects through flattening, plugins, or creative frame manipulations. Whether you’re looking to create bold headlines, dynamic shapes, or interesting layouts, knowing how to skew in Figma adds versatility to your design toolkit. The key is to understand the limitations of each method and use them accordingly to suit your project needs. With some practice and experimentation, you’ll be able to add stylized and professional skewed elements into your Figma designs with confidence.