Finishing a knitting project in stockinette stitch often brings great satisfaction, but the final step properly weaving in ends can be just as important as the knitting itself. Without secure and invisible weaving, even the most beautiful fabric can unravel or look messy. For knitters who work with stockinette, a smooth and tidy weave is essential, since this stitch is sleek and tends to curl. Knowing the right method for weaving in ends on stockinette stitch ensures durability, aesthetics, and comfort in the finished piece.
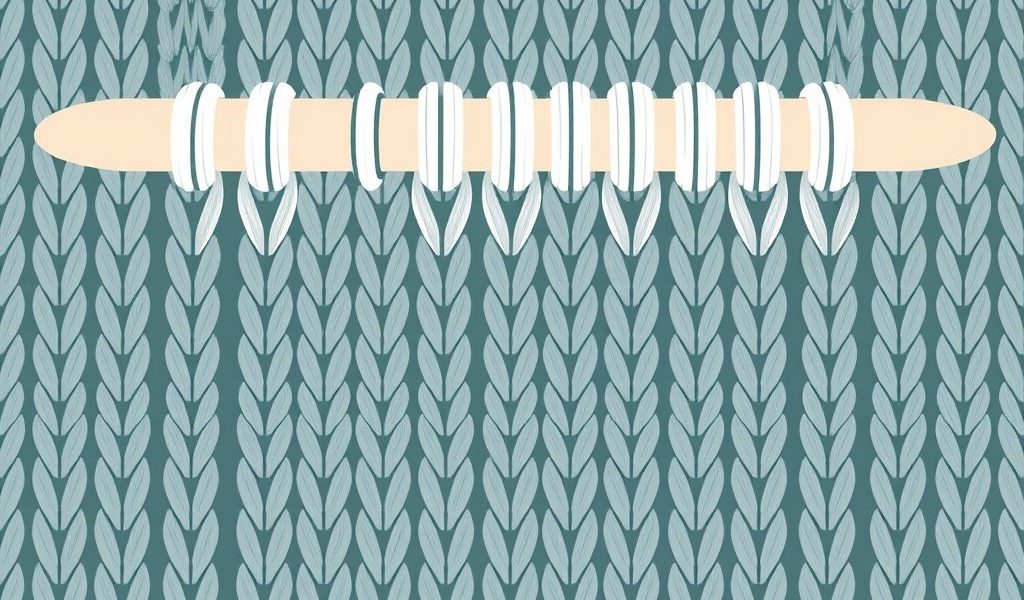
Understanding Stockinette Stitch Fabric
Characteristics of Stockinette
Stockinette stitch, often the default in many knitting projects, is created by knitting one row and purling the next. This produces a fabric that has a smooth V-shaped pattern on the front and a bumpy texture on the back. It’s popular for garments, accessories, and blankets because of its neat and polished appearance.
Challenges with Weaving Ends on Stockinette
Because of its clean look, weaving ends on stockinette fabric requires careful attention. The smooth face of the stitch can make ends more visible, especially if they are not woven properly or in the correct direction. Moreover, stockinette tends to curl at the edges, which can make anchoring the yarn tricky if not done correctly.
Why Weaving in Ends Matters
Durability and Wear
Projects that are frequently worn or washed need ends that stay hidden and secure. A poorly woven end can work its way out and cause unraveling over time. Weaving in properly ensures the project remains intact and strong throughout its use.
Aesthetics
Visible yarn tails or lumpy areas where ends are hidden can distract from the smooth appearance of stockinette stitch. Especially on garments like sweaters, scarves, or hats, a clean finish enhances the overall craftsmanship.
Tools You Will Need
- Tapestry needle: A blunt-tipped needle large enough for yarn.
- Sharp scissors: To trim the yarn once it’s woven in.
- Blocking materials: Optional but helpful for flattening and settling the fabric after finishing.
Best Techniques for Weaving in Ends on Stockinette Stitch
Method 1: Duplicate Stitch on the Wrong Side
This is one of the most invisible ways to weave in ends on the back side of stockinette.
- Turn your fabric to the wrong side (the purl side).
- Thread the yarn tail onto your tapestry needle.
- Follow the line of purl bumps in a horizontal path, mimicking the natural curve of the stitches.
- After weaving in 34 cm (or about 1.5 inches), reverse the direction for another 23 cm for security.
- Snip the tail close to the fabric, being careful not to cut the actual stitches.
Method 2: Vertical Weaving Along Stitch Columns
This method is best when weaving along the side of a stockinette piece or when working on seamed garments.
- Identify a vertical column of purl bumps on the wrong side.
- Weave your yarn tail up through the middle of the stitch column.
- Go through 46 bumps, then reverse direction and go back down a few bumps.
- This adds security and helps prevent the tail from slipping out.
Method 3: Weaving Along Seams
When working on garments or items with seams, hiding the ends inside the seam allowance is highly effective.
- Identify the seam line (usually a mattress stitch seam).
- Insert the needle through the inside of the seam, weaving in and out of the seam stitches.
- Continue for several inches if possible for maximum security.
- Ends hidden in seams are completely invisible on the right side.
Tips for Clean and Secure Finishing
Match Yarn Tension
When weaving ends, avoid pulling too tightly or too loosely. Try to match the tension of your woven tail to the surrounding stitches. This prevents puckering or bulging on the fabric surface.
Use Appropriate Yarn Length
Leave yarn tails at least 68 inches long when you finish knitting. Short ends are harder to weave securely and may come undone over time.
Weave in As You Go
While it might be tempting to leave all your finishing for the end, weaving in ends as you go can make the process less overwhelming and help maintain consistent quality throughout your project.
Special Considerations for Different Yarn Types
Wool and Natural Fibers
Wool has a tendency to felt slightly, which helps it grip onto itself. This makes it easier to secure when woven in. However, always test your method before finishing your project, especially if you plan to machine wash it.
Slick or Synthetic Yarns
Acrylic and bamboo yarns can be slippery. For these, consider weaving in ends in multiple directions or even splitting the yarn tail into two strands and weaving each part separately for extra grip.
Color Considerations
When your yarn tails are a contrasting color from the fabric, be especially careful about placement. Weaving on the wrong side and in seams is best to prevent the tail from showing through the fabric.
Common Mistakes to Avoid
- Not weaving far enough: A few inches of weaving help secure the tail. One or two stitches is not enough.
- Trimming too close too soon: Always wait to trim until after you’ve blocked the item. Blocking can shift the yarn slightly, and trimming too early might result in an exposed end.
- Leaving knots: Knots may seem like a shortcut, but they can create bulk and may not hold well through wear or washing.
Finishing and Blocking
Set Your Weaving with Blocking
Blocking your finished item after weaving in the ends helps the yarn settle into place. It can smooth out any tension inconsistencies and secure the ends further into the fabric. Steam blocking or wet blocking are both effective for stockinette stitch depending on the fiber type.
Weaving in ends on knitting stockinette stitch is a fundamental finishing skill that makes your handmade pieces look polished and professional. Though it may seem tedious, this step is essential for maintaining the strength and visual appeal of your project. Using techniques like duplicate stitch on the wrong side, vertical weaving along columns, and hiding ends in seams will provide secure and nearly invisible results. With practice and attention to detail, you can confidently finish any stockinette knitting project with clean, seamless beauty. Whether you are making sweaters, scarves, or accessories, mastering this technique enhances both the look and longevity of your creations.