Creating a DIY Raggedy Ann doll is a wonderful way to bring a touch of nostalgia into your home while also enjoying a fun and creative sewing project. Raggedy Ann dolls have been cherished by generations for their charming appearance and handmade feel. Whether you want to make one as a heartfelt gift, a decorative item, or a keepsake, crafting your own doll can be both rewarding and relaxing. With a few materials and some patience, you can create a personalized Raggedy Ann doll that reflects your unique style and creativity.
What Makes a Raggedy Ann Doll Special?
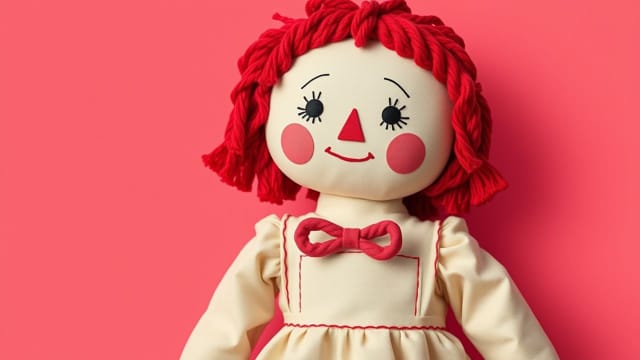
Raggedy Ann is an iconic cloth doll known for her red yarn hair, triangle nose, and stitched smile. She often wears a floral dress with an apron, striped stockings, and black shoes. The beauty of making your own version is that you can customize the fabric, colors, and accessories while maintaining the classic features that make the doll instantly recognizable.
Materials You Will Need
Before starting your DIY project, gather all the necessary materials. Here is a simple list of what you’ll need:
- Muslin fabric or light-colored cotton for the doll’s body
- Fabric for the dress and apron
- Red yarn for the hair
- Polyester fiberfill for stuffing
- Embroidery thread for the facial features
- Sewing machine and hand-sewing needles
- Scissors, pins, and fabric marker
- Optional: lace trim, buttons, or ribbon for extra decoration
Creating the Doll Pattern
You can find free patterns online or sketch your own based on traditional Raggedy Ann shapes. The basic pattern includes the head, body, arms, and legs. Ensure that the arms and legs are proportionate and long enough to maintain the traditional floppy style.
Step-by-Step Guide to Sewing Your DIY Raggedy Ann Doll
Step 1: Cut Out the Fabric Pieces
Lay your pattern on the muslin fabric and trace the body, arms, and legs. Cut out two pieces for each part so they can be sewn together. For the dress and apron, cut out the fabric according to your chosen design.
Step 2: Sew the Body Parts
Place the fabric pieces for the arms and legs right sides together and stitch around the edges, leaving the top open for stuffing. Repeat this for the body, leaving an opening at the bottom. Trim the seams and turn each piece right side out.
Step 3: Stuff and Assemble the Doll
Stuff the arms and legs with polyester fiberfill, making sure they are firm but still flexible. Attach them to the body by inserting the open ends into the torso opening and sewing securely. Then, stuff the body and sew the bottom closed.
Step 4: Add Facial Features
Use embroidery thread to stitch Raggedy Ann’s signature features: black oval eyes, a red triangle nose, and a wide stitched smile. You can also add simple eyelashes or rosy cheeks using fabric paint or blush for a more detailed look.
Step 5: Make the Hair
Cut strands of red yarn to the desired length for the hair. Sew the strands in rows across the scalp area, or use a wig cap technique for a neat finish. Make sure the yarn is securely attached so it won’t come loose with handling.
Step 6: Sew the Outfit
Create the dress by sewing a simple A-line shape with sleeves and an opening at the back. Add the apron and any decorative elements like lace or ribbon. Raggedy Ann is traditionally dressed in a floral dress with a white apron, but you can choose any style you prefer.
Tips for Customizing Your Raggedy Ann Doll
The beauty of a DIY Raggedy Ann doll is that you can personalize it in countless ways. Here are some creative ideas:
- Fabric choices: Choose bright colors or patterns that reflect your personality.
- Hair variations: Use different yarn colors for a modern twist on the classic look.
- Embellishments: Add buttons, lace trim, or embroidery to make the outfit unique.
- Size adjustments: Create a small pocket-sized version or a large decorative doll.
Why Make a DIY Raggedy Ann Doll?
There are several reasons why this project is so meaningful:
- It’s a creative way to practice sewing and crafting skills.
- Handmade dolls make heartfelt gifts for birthdays or holidays.
- You can preserve a sense of nostalgia and share a piece of classic Americana.
- Custom dolls allow for personal touches that store-bought versions lack.
Common Challenges and How to Overcome Them
Making a doll by hand can come with a few difficulties, but these can easily be managed:
- Uneven stuffing: Stuff small amounts at a time and use a dowel to push stuffing into the corners.
- Loose stitches: Double-stitch the seams, especially where limbs attach to the body.
- Hair shedding: Secure yarn with extra stitches or fabric glue for durability.
Taking Care of Your Raggedy Ann Doll
Once your doll is complete, it’s important to maintain its charm. Spot-clean gently with a damp cloth, and avoid machine washing unless the fabric and stuffing are completely washable. Store the doll in a cool, dry place to prevent fading and fabric wear.
Making your own DIY Raggedy Ann doll is more than just a craft project it’s a labor of love that results in a cherished keepsake. With basic sewing skills and a little creativity, you can bring this beloved character to life in a way that reflects your personal style. From choosing fabrics and colors to adding custom details, each step offers an opportunity to make something truly special. So gather your materials, set aside some creative time, and start stitching your very own Raggedy Ann doll today!